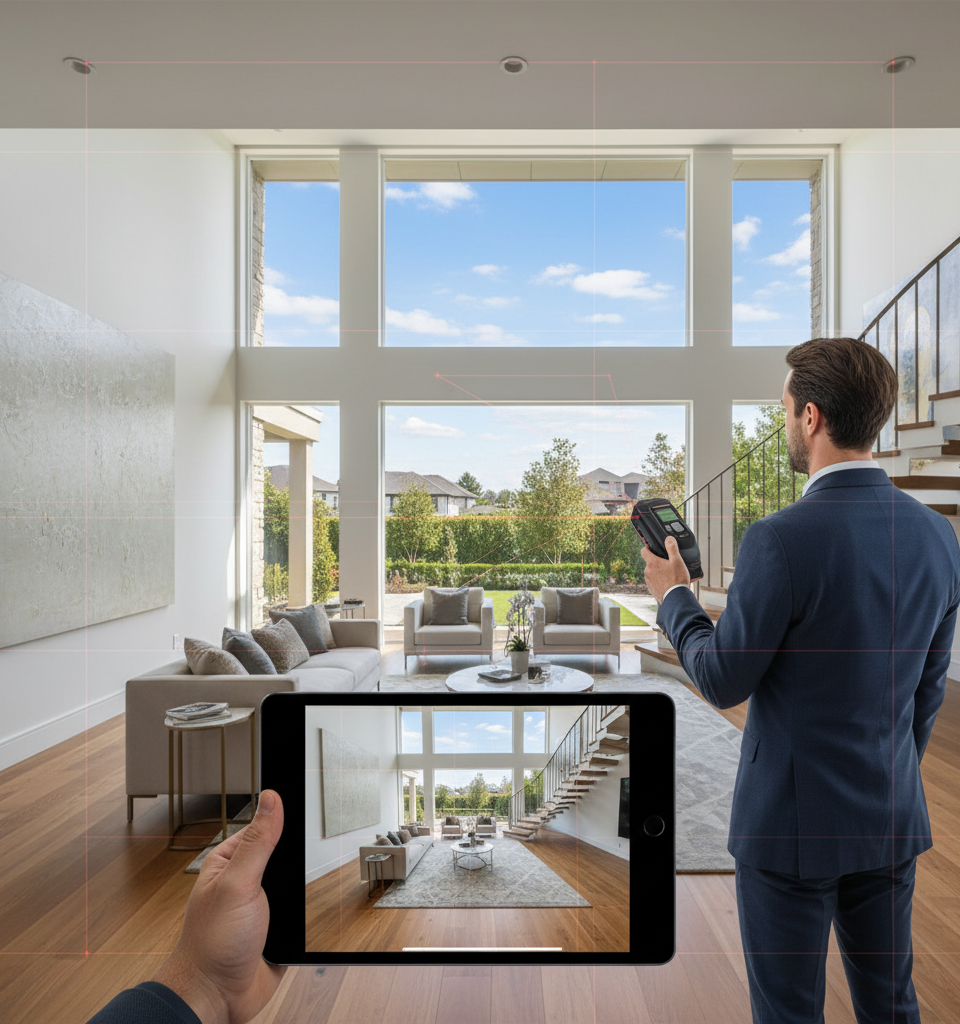
The most striking photograph is not always the most informative. A bright living room with a garden view may deserve to open a listing, while a quieter angle showing the entrance and passage may tell buyers more about how the room works.
That distinction matters after every property shoot. Agents must decide which images to use, how to adapt them, what to verify and where each version belongs. A practical rule connects those decisions: reject any treatment that changes what a buyer would reasonably understand about the space.
1. Selection: give every photograph a purpose
Review the complete set before choosing favourites. Each selected image should have a job: establish the setting, explain the layout, show condition or document a distinctive feature.
If two kitchen photographs repeat the same view, a less polished image that includes the dining area and terrace door may be more useful. Ask: what would the buyer lose if this photograph were removed?
Selection should also reflect the destination. A short social video can introduce a property with a few strong images; the main listing should restore the context that the shorter version omits. Identify gaps before editing. If photographs do not establish whether a bedroom has garden access, verify the layout rather than implying a connection through sequencing. Keep originals untouched and give working copies clear names so every export can be traced to its source.
2. Transformation: decide what can safely change
Choose between a still, crop and motion according to what the image needs to communicate. A centred vertical crop may preserve a bed while removing the doorway and passage beside it. The result looks cleaner, but it changes the viewer's understanding of access and usable space.
Compare every proposed treatment with the full photograph. A detail image may legitimately exclude its surroundings; an overview needs enough context to remain an overview. If a crop removes essential information, choose another photograph or retain the full image within the frame.
Apply the same test to motion and generated content. Watch the entire shot, not only its opening and closing frames. Window divisions, railings or fitted furniture may shift during an otherwise convincing movement. Manual retouching deserves equal scrutiny: concealing a defect, removing a permanent fixture or replacing a view can also change the property information. When a treatment fails the decision rule, simplify it or return to the original still.
3. Quality control: review the finished export
Check the file that will actually be published, using three separate passes.
First, compare the finished imagery with the source photographs. Check room boundaries, permanent features, visible condition and any spatial relationships suggested by the sequence.
Second, verify price, location, room counts, measurements, contact details and feature claims against the current listing record. Resolve conflicting source information before release.
Third, test usability. Watch videos without sound, read captions on a phone at normal viewing size, check that platform controls do not cover important information and open every link.
Distinguish minor presentation issues from reasons to stop publication. Uneven caption spacing may need correction; an invented architectural detail, disappearing fixture, incorrect price or unreadable contact information requires the asset to be held. Correction notes should be precise: "At 00:12, the terrace railing changes shape" is actionable; "the terrace looks wrong" is not. Where possible, ask a second person to compare the export with both the originals and the property record.
4. Distribution: define each version's role and owner
Decide what each asset should do before exporting it. A social video may highlight two features, but it should lead directly to the relevant property page, complete gallery and enquiry route.
Maintain a simple publication register recording the version, channel, date and person responsible for updates. Include brochures and files sent directly to prospective buyers, not only public posts. If a price changes, the register should reveal which property pages, videos, reusable attachments and previously shared files need attention.
Finally, inspect the published result. Uploading can alter compression, cropping or the preview image. Approval should be based on what buyers will encounter, not what left the editing software.
A useful property presentation does more than attract attention. It preserves the meaning of the source, helps buyers understand the home and gives the team a reliable way to correct every version when the facts change.